Table of Contents
ToggleCapturing the perfect moment can feel like an Olympic sport, especially when everyone’s trying to squeeze into the frame. Luckily, the iPhone 12 has a secret weapon up its sleeve: the timer! With just a few taps, it transforms anyone into a master photographer. No more awkwardly asking a stranger to snap a pic or relying on a selfie stick that’s more trouble than it’s worth.
Understanding The Timed Photo Feature
The iPhone 12’s timed photo feature simplifies capturing moments. This functionality allows users to set a delay before taking a photo, ensuring everyone can get in the frame.
What Is A Timed Photo?
A timed photo enables the camera to capture an image after a predetermined delay. Generally, users can choose between 3 or 10 seconds before the shutter clicks. This flexibility allows for adjustments, ensuring everyone is ready for the shot. Photographers can avoid the pressure of rushing and instead take their time positioning themselves properly.
Benefits Of Using Timed Photos
Using timed photos offers multiple advantages. First, it eliminates the need for assistance, empowering users to take their own pictures. Second, this feature enhances the chances of getting a perfect shot, especially in group settings. Moreover, setting up the camera on a stable surface ensures reduced shaking and improved picture quality. Lastly, this function encourages creativity by allowing for various poses and angles without the hassle of someone else managing the camera.
Steps To Take A Timed Photo On iPhone 12
Taking a timed photo with the iPhone 12 is straightforward and user-friendly. Follow these steps to capture great moments effortlessly.
Opening The Camera App
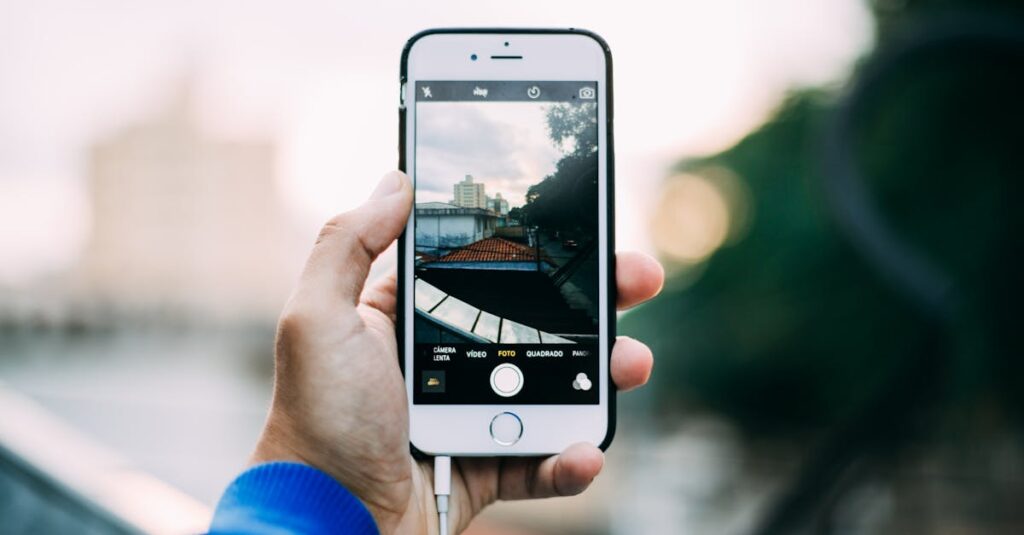
First, locate the Camera app on the iPhone 12. It’s typically found on the home screen. Tap the icon to launch the app. The camera view will appear immediately, ready for use. Users can also access the camera quickly by swiping left on the home screen. This method speeds up the process, ensuring no moment is missed.
Selecting The Timer Option
Next, look for the timer icon at the top of the screen. This icon resembles a clock and is part of the camera controls. Tapping it reveals the timer settings. Users can choose between two options: 3 seconds and 10 seconds. Selecting one of these options activates the timer for the upcoming photo, offering flexibility based on preferences.
Choosing The Timer Duration
Users often prefer a longer pause to adjust their positioning. Choosing the timer duration is a crucial step. For a quick shot, the 3-second timer suffices, while the 10-second timer allows more time to prepare. Accessing these options enables photographers to select the ideal duration that meets their needs, enhancing the chances of a successful capture.
Framing Your Shot
Framing the shot is essential for a wonderful photo. With the timer set, users should position the camera at the desired angle. Adjusting the frame ensures that everyone fits in the picture. Moving closer or farther away can help achieve the perfect composition. It’s advisable to review the image preview for any last-minute adjustments.
Taking The Photo
Finally, when ready, tap the shutter button to commence the countdown. The camera emits a sound or visual indication that the timer has started. Once the countdown concludes, the photo automatically captures. This approach eliminates the need for someone else to press the shutter, enabling effective self-timer use for enjoyable photo sessions.
Tips For Better Timed Photos
Enhancing timed photos with effective techniques can lead to better results. Here are some helpful tips for achieving stunning images using the iPhone 12.
Using Tripods Or Stands
Tripods provide stability and eliminate camera shake, which improves photo quality. Using a stand keeps the camera steady, especially in low-light conditions. Many tripods are portable and easily adjustable, ensuring the camera is at the right height. They also allow users to focus on posing without worrying about holding the phone. Consider finding a tripod with a phone mount for added convenience.
Experimenting With Angles
Angles significantly impact the final image. Capturing photos from various perspectives can create dynamic compositions. Users might try shooting from a higher angle for a unique viewpoint or from a lower angle to emphasize subjects. Changing positions allows everyone to showcase their personalities and style. Explore different angles to find the most flattering or fun option for the group.
Lighting Considerations
Good lighting is essential for capturing vibrant photos. Natural light enhances colors and details, so shooting outdoors often yields the best results. Positioning subjects in the shade can reduce harsh shadows. Alternatively, golden hour—the time shortly after sunrise or before sunset—offers soft, warm light. If shooting indoors, try to utilize available light sources like windows to brighten up the scene.
Troubleshooting Common Issues
While using the iPhone 12’s timer feature, users may encounter some common issues that require troubleshooting.
Timer Not Working
Experiencing a non-responsive timer can be frustrating. First, ensure the Camera app is updated to the latest version. Sometimes, simply restarting the app resolves the issue. If the problem persists, check the settings. Users may need to verify if the timer option is correctly enabled. Blocking issues could arise from insufficient storage, so managing storage can help as well. Finally, a device restart can often refresh all settings, potentially restoring the timer’s functionality.
Camera App Glitches
Glitches within the Camera app can hinder the performance of the timer feature. Closing other apps running in the background can free up resources for smoother operation. Users should also check for software updates, as these can fix existing bugs. In cases of persistent glitches, resetting the settings to defaults might prove effective. Navigating to Settings, then tapping General, and selecting Reset can guide users through restoring the app’s optimal functionality. Ensuring the iPhone 12’s software is current can prevent future issues.
Mastering the timed photo feature on the iPhone 12 opens up a world of possibilities for capturing memorable moments. With just a few simple steps users can take control of their photography experience. This feature not only empowers individuals to include themselves in group shots but also enhances the overall quality of their images.
By utilizing tips for stability and lighting users can elevate their photos even further. Whether it’s a family gathering or a spontaneous outing the timer function ensures everyone can be part of the picture. Embracing this tool allows for creativity and fun while snapping photos. The iPhone 12 truly makes it easier than ever to capture the perfect shot.